
I’m so excited that it’s finally time to share with you my kids’ bathroom makeover final reveal! It’s been One Month and $100 later, but it was so worth the long days and sore arms. I think even my husband agrees with me… but ask him next week. It’s a little too fresh yet. 😉
If you remember from Week 1, this is what the bathroom looked like when we moved in earlier this year:

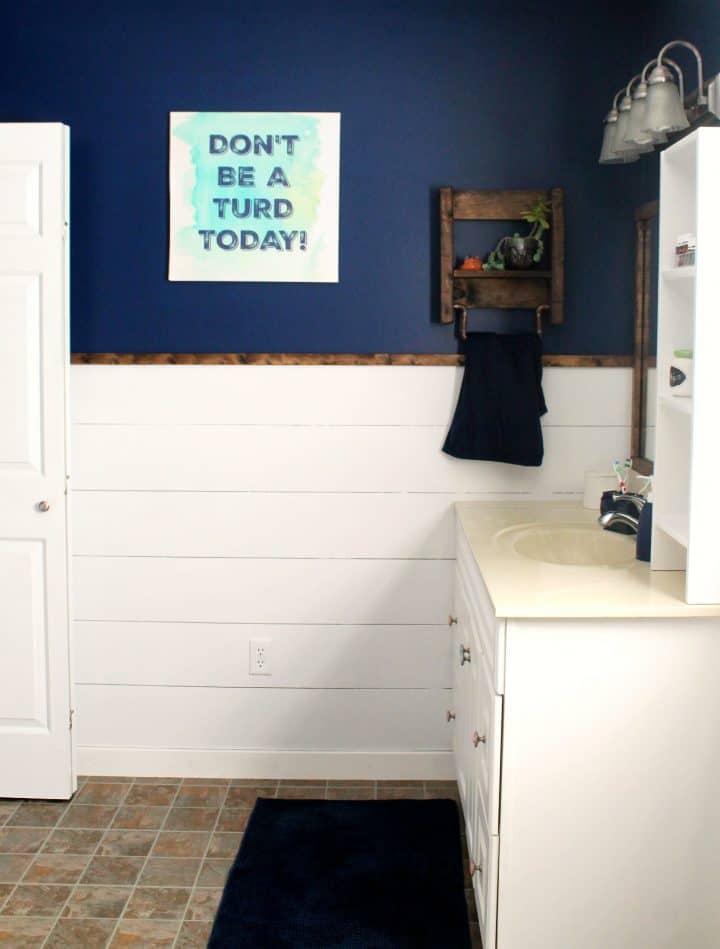
And this is what it looks like today:
I will have all the details in later posts, but for now I’ll take you on a quick visual tour.
The biggest expense by far from my budget was purchasing this vanity. The old one was tiny, very low and 30 years old, so it had seen better days!
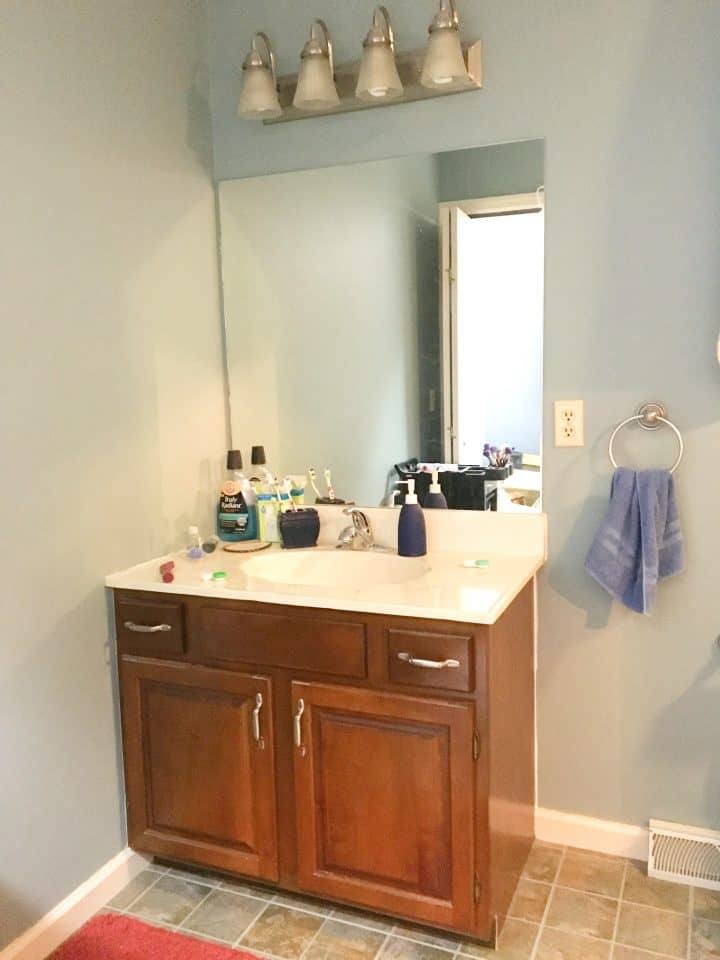
I found this vanity on a Facebook yardsale site for $75 and scooped it right up! Tons more storage, fit the size of the bathroom better and the right height for my 6’1″ son!
Buuut, it looked awkward with the mirror! That thing is glued on tight, and we were not about to rip it off the drywall. So we built a wooden cubby to fill in the empty wall space and framed out the mirror!

This is where saving everything comes in handy. I used scrap wood from our garage to build the cubby, frame out the mirror and build the shelf/towel bar on the left wall! Seriously! I did not spend one cent on any of those things!
The towel bar is built from not only the 30 yr. old studs we tore out during our renovations, but I also used a piece of the copper pipe that was removed too!
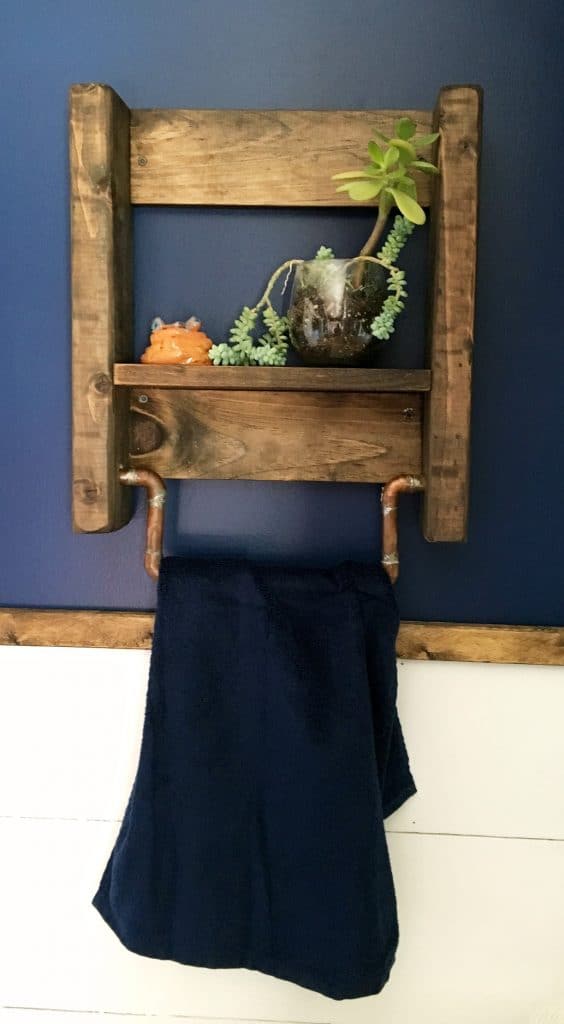
I’ll post a tutorial soon on how to build your own, but you see that little clay dish on the left side of the shelf? My daughter made that years ago in school, but it reminded me of a poop emoji, so I thought it was fitting to have it in the bathroom!
Speaking of potty humor, this sign cracks me up every time I walk in here!

I had a 20×20 canvas already in my stash (I actually have 3 more too… don’t judge!). I designed this in PicMonkey and then had it printed as an engineer print at Staples.
I love how it fills up this wall!
And there’s your sneak peek of the laundry closet! If you remember, this is what it looks like when we moved in.
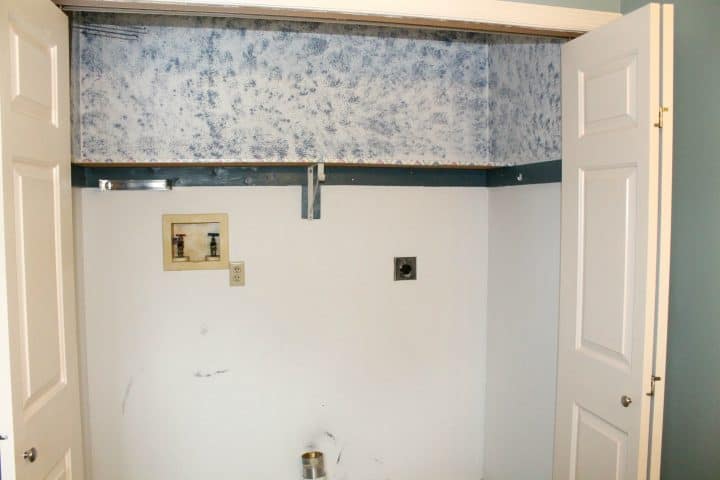
I quickly painted it with some paint I found in the basement. We also took some cabinets we removed from our kitchen, and installed them in here. And then we lived like this for the next 10 months.

I found this shelving unit online! Then I found some shelves behind the dryer (more on that later!), and used some scrap wood as brackets to mount them beside the cabinet. I covered them in contact paper that I bought using my rewards points from K-Mart. It’s also on Amazon, though!
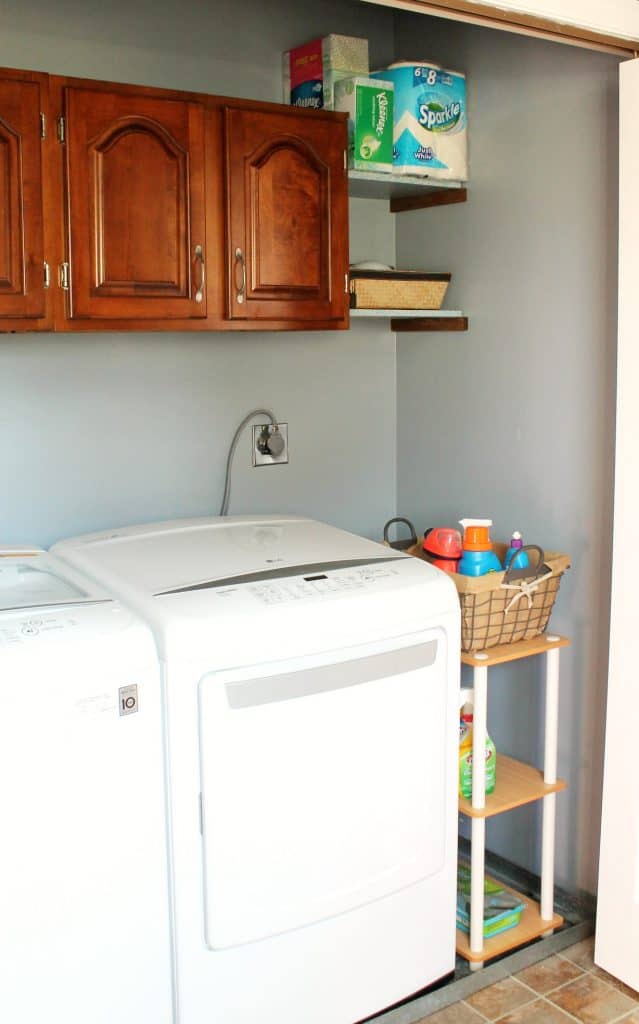
So much nicer and fresher already! But we haven’t even gotten to the other half of the room yet!
If you stand under my Don’t Be a Turd Today wall art, this is what the view of the other half of the room used to look like:

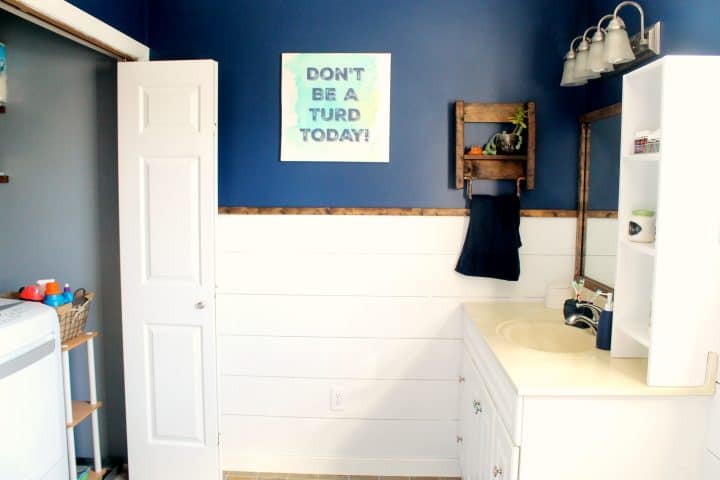
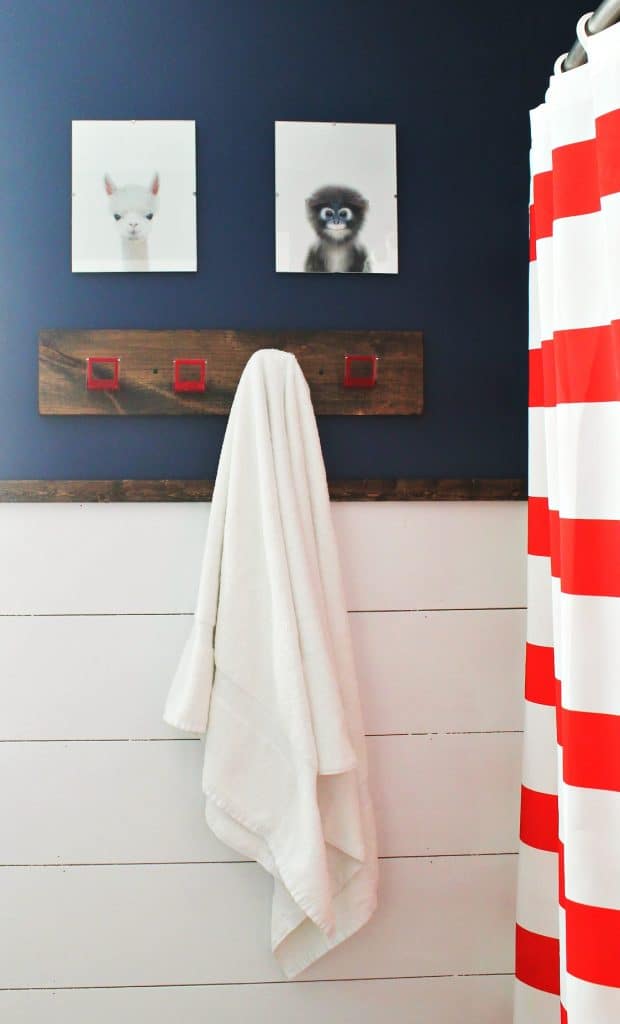
After some paint, faux shiplap and new wall accessories… this is what it looks like today!

The towel bar is a piece of scrap wood that I stained to match the trim. I bought the red drawer pulls probably 10 years ago from IKEA and never used them (I still have 2 more packs too!). They worked perfectly as towel hooks when we turned them upside down.

The artwork are printables I purchased right at the last minute from TheCrownPrints on Etsy. I had these frames I bought at a yardsale years ago for 50 cents each, so I wanted something quickly to fill this space. I love how as soon as you purchase them, you can print them out immediately!
I got the monkey for my daughter’s hooks because we always call her Looloo since she’s crazy like a monkey. The alpaca is for my son’s hooks, because he’s pale and has a long neck! LOL!
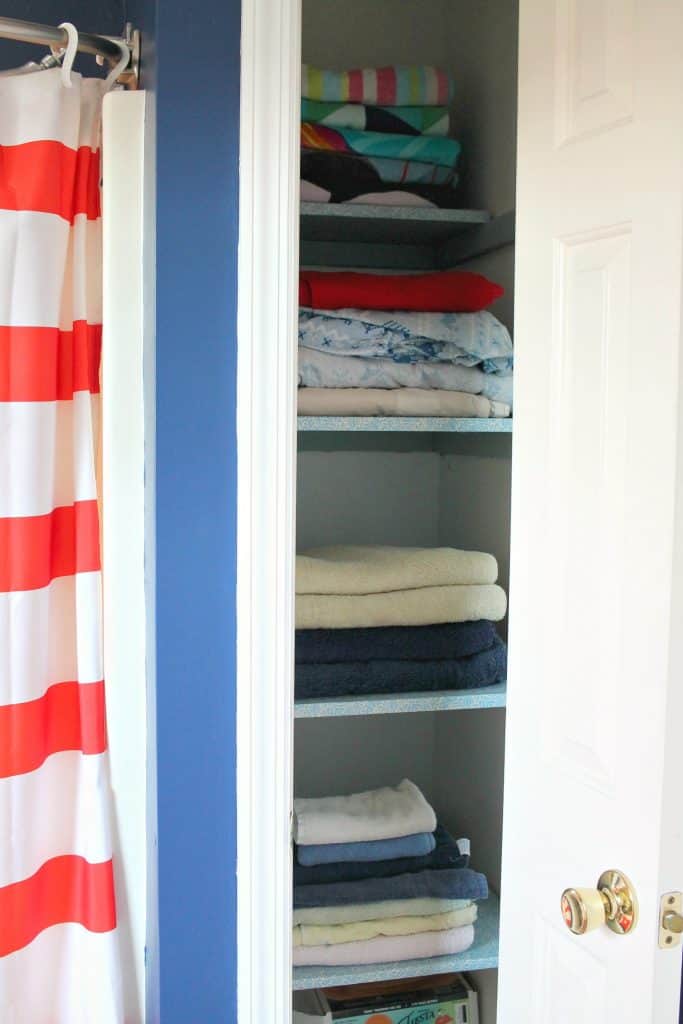
On the other side of the shower, is the teeny tiny linen closet. Here’s what it looked like at the beginning of this challenge:

Hardly any shelves even though there were brackets for many more! So I cut some more shelves out of scrap wood and covered them all in the same contact paper I used in the laundry closet!
Speaking of laundry closet, remember those shelves I found behind the dryer? After I got all these new shelves cut, I found those and realized they were the missing linen closet shelves! Ack!! After cutting 2 down for the laundry closet, I still have 2 shelves leftover now!
But the linen closet is looking great!
I also ended up having to paint all the doors and door trim. I was hoping not too, but the difference between the white shiplap was just too glaring!
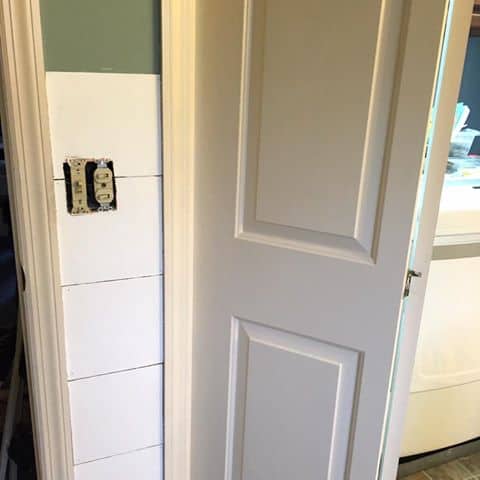
So they all got a fresh coat of paint and I got to be irritated for a day! But 5 days later, and I can say it was worth it!

And now when I walk into the room, I’m no longer rolling my eyes at this awkwardly placed toilet with the tiny vanity.

It all seems to flow much better now!

GRAND TOTAL: $93.55!!
I’ll be back soon with tutorials on specific projects for my kids’ bathroom makeover final reveal! In the meantime, make sure to check out the final reveals from everyone else participating in the One Room, One Month, $100 Challenge!
Erin
Thursday 2nd of February 2017
I love how this space turned out! And that sign had me cracking up!
Natalie
Friday 3rd of February 2017
Thanks! It makes my kids crack up too, so I consider that a win!
Jillian
Wednesday 1st of February 2017
Ok, first, can we talk about your sign? How hilarious is that?! And that wood trim above the shiplap! It blends with your mirror perfectly. It looks beautiful!
Natalie
Friday 3rd of February 2017
My 13 year old is the one who came up with staining the trim above the shiplap! I was going to paint it white, but I love that we went with her instinct!
Amy | Stow and TellU
Tuesday 31st of January 2017
I'm downright amazed at the before and after. Love the shiplap against the dark wood and navy. And those towel racks!!! You guys rocked this room!!!
Natalie
Friday 3rd of February 2017
Thanks so much! The towel racks were a last minute DIY the day before the challenge ended! LOL! I couldn't come up with anything, so I just started randomly cutting and screwing things together! I love them!
Kristen & Vicki
Monday 30th of January 2017
Beautiful! That is such a statement wall now with the blue and the shiplap. And your DIY towel hanger is so adorable! Love that! You got so much done, nice!
Natalie
Friday 3rd of February 2017
Thanks so much! Navy and white seem to be my calling card lately!
kathy
Monday 30th of January 2017
It looks so great!! I can't believe how you turned that vanity corner into perfection! Wonderful job. I hope you got plenty of recovery time last week!
Natalie
Friday 3rd of February 2017
That corner with the vanity was driving me nuts for almost a year, and I am thrilled with the way it turned out! I didn't think we'd be able to recover from the awkward layout of this room. Thanks for your kind words!