

We’ll start with an after shot, because the before shot is not pretty. I mean, I get it. They aren’t supposed to be pretty. It’s a before shot. Some people mess them up on purpose just so their after shot has more of an impact. I guarantee you that is never the case here. There is absolutely no need. My daughter’s room is in a constant state of “before”, and I have photographic evidence.

This is EVERY surface. This is a BLAST to clean up.
Emma: “I neeeed that!! You can’t throw it away!”
Me: “It’s an empty candy wrapper. You absolutely do not need this.”
Emma: “It helps me remember the good times I had eating that candy!”
Oh my gosh, guys, it’s nuts!! She’s nuts! But we’ve been slowly working our way through her room and there are some areas that have actually stayed clean for weeks now. The top of this dresser and specifically, her make-up trays, have been on our agenda for awhile now.
Step #1:

For her make-up trays, I swung by our local thrift store and found a bunch of plastic frames.
You know the frames I’m talking about. They’re all over thrift stores and all you have to do is take the cardboard backing out, flip it upside down and you have yourself a nice, acrylic tray!
You want to line the bottom, though, so it pops more. As soon as I saw this Duck Brand’s Shelf Liner I knew that would be perfect (I got it in red, which is unavailable when I came to update this post).

First, I mean could the color be any more suited to her room??

Second, it’s perfect for nail polish and those slippery little jars! The liner is self-adhesive so it’s not going to slip around in the tray and get bunched up, plus it’s going to keep those jars in place too.
Best part, you can get it wet and it wipes clean in a flash! She loves it, I love it and it took me about 1 minute to cut to size and fit into the frame. Easy, fast, affordable and makes a pretty big difference!

Step #2: keep it clean! My goodness, can’t you just breathe easier looking at this picture?!

This picture frame into tray + Giveaway has ended! Congrats to the winner!
If you’re looking for more ways to organize your daughter’s room, we also made her this headboard to give her extra storage room. We started with a thrift store bookshelf headboard and then just kept adding onto it!
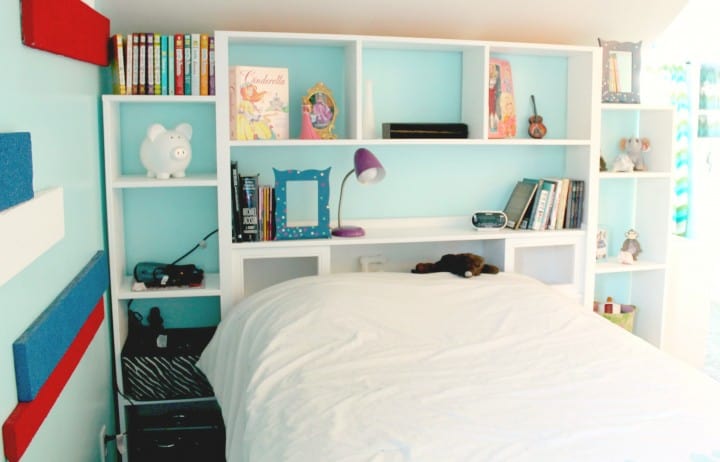
This Murphy Desk was perfect for her because she could just fold it up and hide the mess when she wasn’t using it!

And don’t forget to pin this post so you can remember this easy organizing craft for your daughter or even for yourself!

Brenda
Tuesday 27th of January 2015
I'd make acrylic trays just like you did! Except my daughters trays would be filled with hair bows and pacifiers.
Lisa Secula
Friday 18th of July 2014
I'd make the same craft for my daughter's room!
Jenna Osborne
Thursday 10th of July 2014
I'd fix up the shelves in my craft room!
Larissa
Wednesday 9th of July 2014
Is it weird if I'd use it to line shelves? We really could use some new liner in the pantry!
Debbie
Tuesday 8th of July 2014
I'd line my jewelry drawer! Debbie