
We’re taking a little break from the drywall and baking today to learn a little trick that will have you wanting to design everything! My friend Kelly is going to show you how to create clipping masks with Photoshop Elements and why bloggers should use them! Don’t turn away, though, because this is actually relevant even if you aren’t a blogger! It’s the coolest trick with lots of ways to use it!
__________________________________________________________________
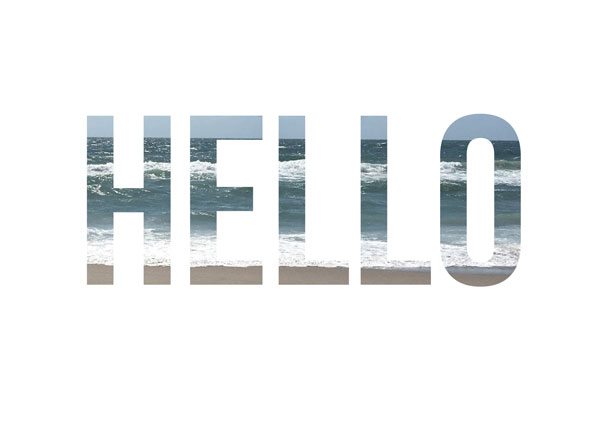
Hey everyone! It’s Kelly from Here Comes the Sun. Natalie has graciously let me take over her site and guest post today and I’ve decided to talk a little about my current favorite graphic design program, Photoshop Elements. Now before you go running away at the mention of graphic design, I need to tell you one of my favorite (and easy) secret tricks to creating awesome graphics: Clipping Masks! Clipping masks are seriously amazing. More amazing than finding the last K-cup hiding in the back of the pantry-amazing. They are just THAT good. They can be used to create an effect like this:
Be still my watercolor loving heart.
Or this:
 And for you bloggers, clipping masks are key to creating unique and personalized graphics for your blog. Graphics that can take your blog to a whole new level. And they are so easy to create. So how do you create this effect? Let me show you.
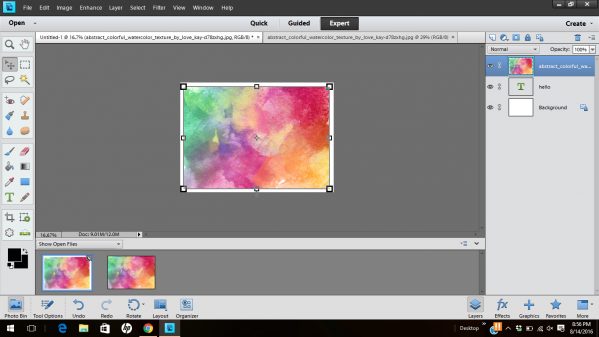
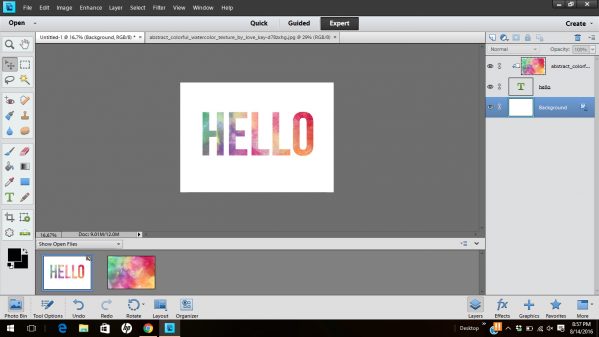
First, create an image, type some text or upload a file that you want to use. This will become your clipping mask.

Next, upload a background image such as a watercolor background or even a photograph. Place this image on top in the layer panel.
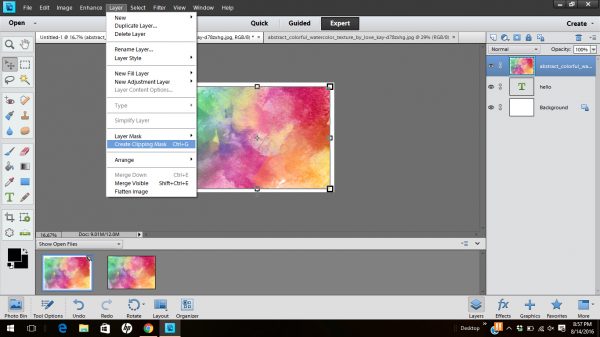
Select the top layer and hit CTRL-G and watch the magic happen. You can also click LAYER > CREATE CLIPPING MASK from the top menu.
How awesome is that? You can make a clipping mask with any shape or text. Think of the possibilities! I’m seriously in love with this tool. And listen up bloggers….clipping masks are KEY to creating unique images, buttons and text for your blog.
Want a watercolor header? Use a clipping mask to make one. Need a photo collage? A clipping mask makes it easy. Want customized social media buttons? Clipping masks can make it happen!
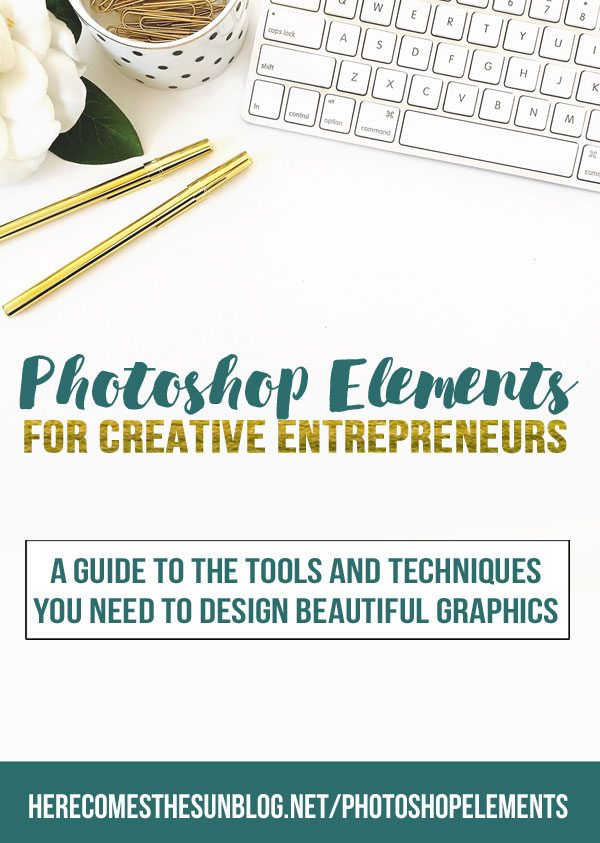
There are many graphic design programs out there but I’m a big fan of Photoshop Elements and love how user friendly it is. That is why I am so excited to announce my brand new eBook that launched TODAY, Photoshop Elements for Creative Entrepreneurs.

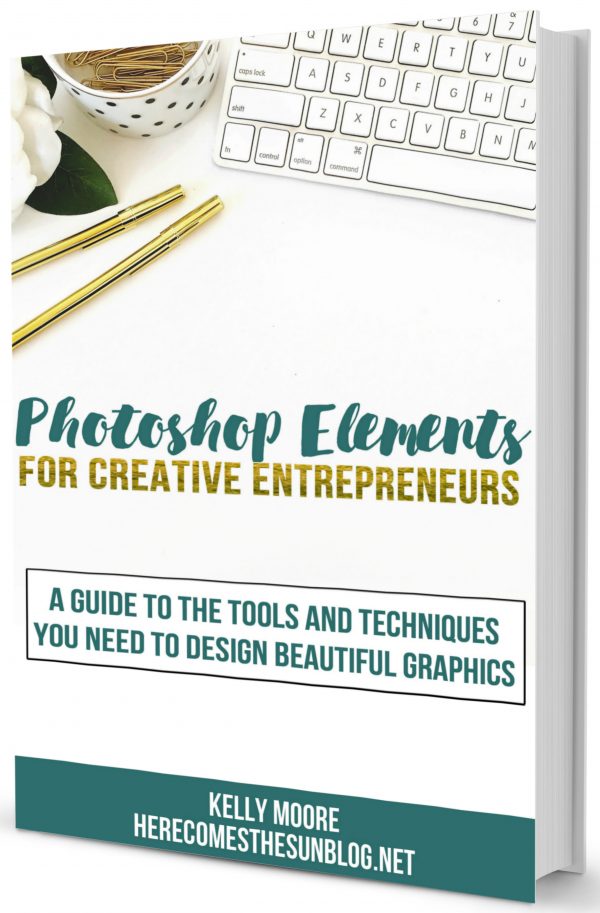
I’m so excited that I finally get to share this eBook with all of you. Graphic design is one of my passions and I love to teach people how to do it the easy way. This book is for both beginners and intermediate users. And you don’t have to be an aspiring (or current) entrepreneur to gain knowledge from the book.
I use my graphic design skills for my blog and Etsy business and this book will help you to do the same if you have a small (or large) business. But the skills that you learn in this book translate to any type of graphic design that you want to do, whether it be for personal use or commercial use. I would love for you to take a look at all this book has to offer. You can learn more about the book and purchase it by clicking below.
Thanks so much Natalie for letting me take over your site today!
__________________________________________________________________
Isn’t Kelly amazing?!? I was fortunate enough to receive an advanced copy of her ebook to read, and my mind was racing the whole time! I took so many notes and wanted to start creating immediately (which is saying a lot for this design-challenged mind of mine).
Wouldn’t this be amazing for parties and holidays, though? You could create cupcake picks, a banner, invitations and so much more! Be sure to click on her link above to learn more so you can start creating too!
Amy Anderson
Saturday 10th of September 2016
I CANNOT wait to try this. So awesome! I'm also going to buy the book. Thank you!